|
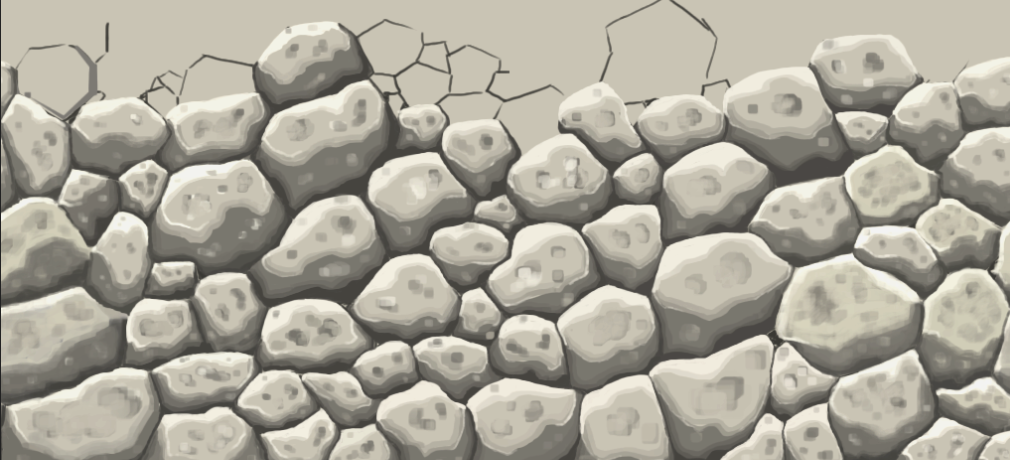
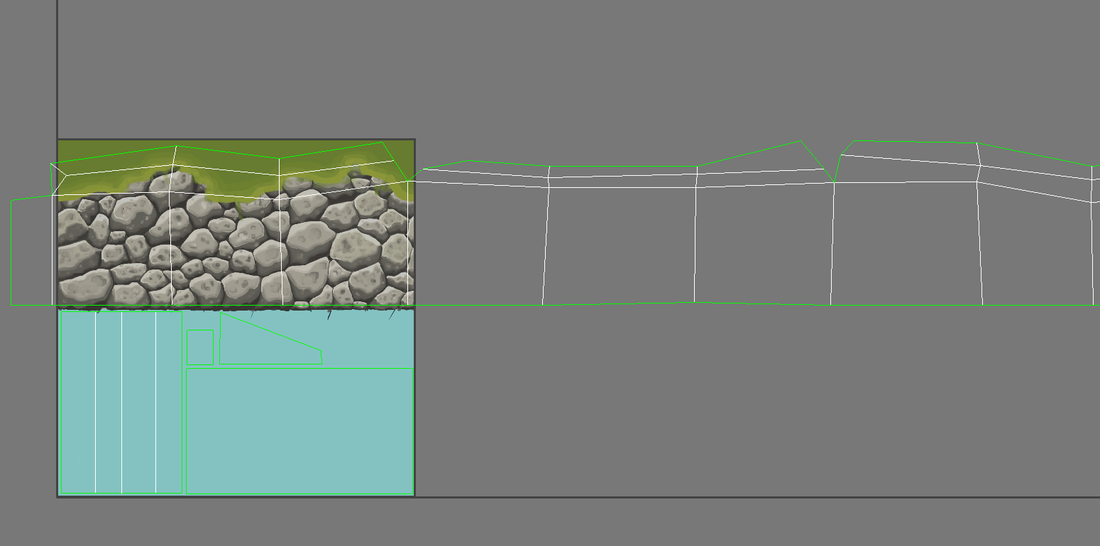
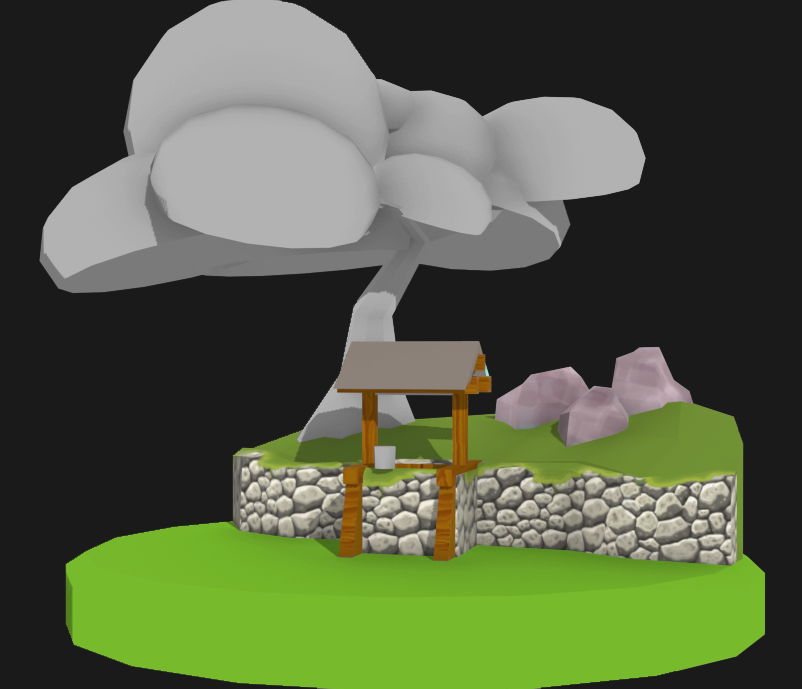
With the blockout completed I have started working on unwrapping and texturing the scene. The model for the well and wall asset needed some adjustments (I added some extra geometry so I could play around with the form and make it look less square) but was otherwise ready for UVW unwrapping from the get go. The unwrapping itself was pretty straight-forward, with both the wall and the well (comprised of the wooden beams and roof) sharing the texture sheet; with a little room to spare for the bucket if need be. So far I have painted the tileable texture for the stone wall and I'm quite happy with the result. I plan on adding more details nearer the end such as moss/grass between some of the rocks as well as some reworked highlights. I've painted in some basic grass texture on the top of this to give me an idea of colour combinations as well as helping out with moving the UVs around to create a varied and seamless texture running across the whole wall. Here you can see how I've arranged the UVW map for the model; running across so that the tileable texture repeats across the whole wall. And here's the result on the model along with a wood texture I'm currently working on for the beams of the well.
0 Comments
Inspired by a lot of the great work created for the VGRemix contest down at Polycount I have decided to create a small, low poly diorama style environment. The goal is to try and get this done pretty quickly whilst also tackling some elements I find challenging (foliage and rocks for example).
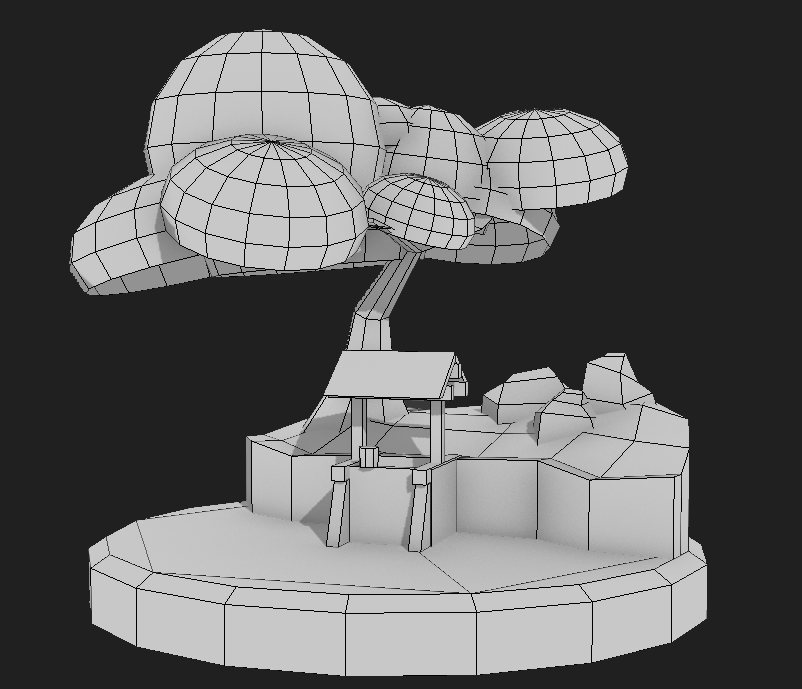
I have chosen to loosely base my scene on some artwork created by the brilliant Kyomu; giving me a good oppurtunity to practice my digital painting. Here is the basic blockout. |
Me
3D Artist, Game Dev and Teacher based in Liverpool, UK Archives
February 2018
|


 RSS Feed